
Covering
201 student exhibits need more than 100 tables. How do we make them ready?
First 2 steps: Take the tables off the delivery carts, unfold their legs, and set them upright; then move them into position. These steps are already done.
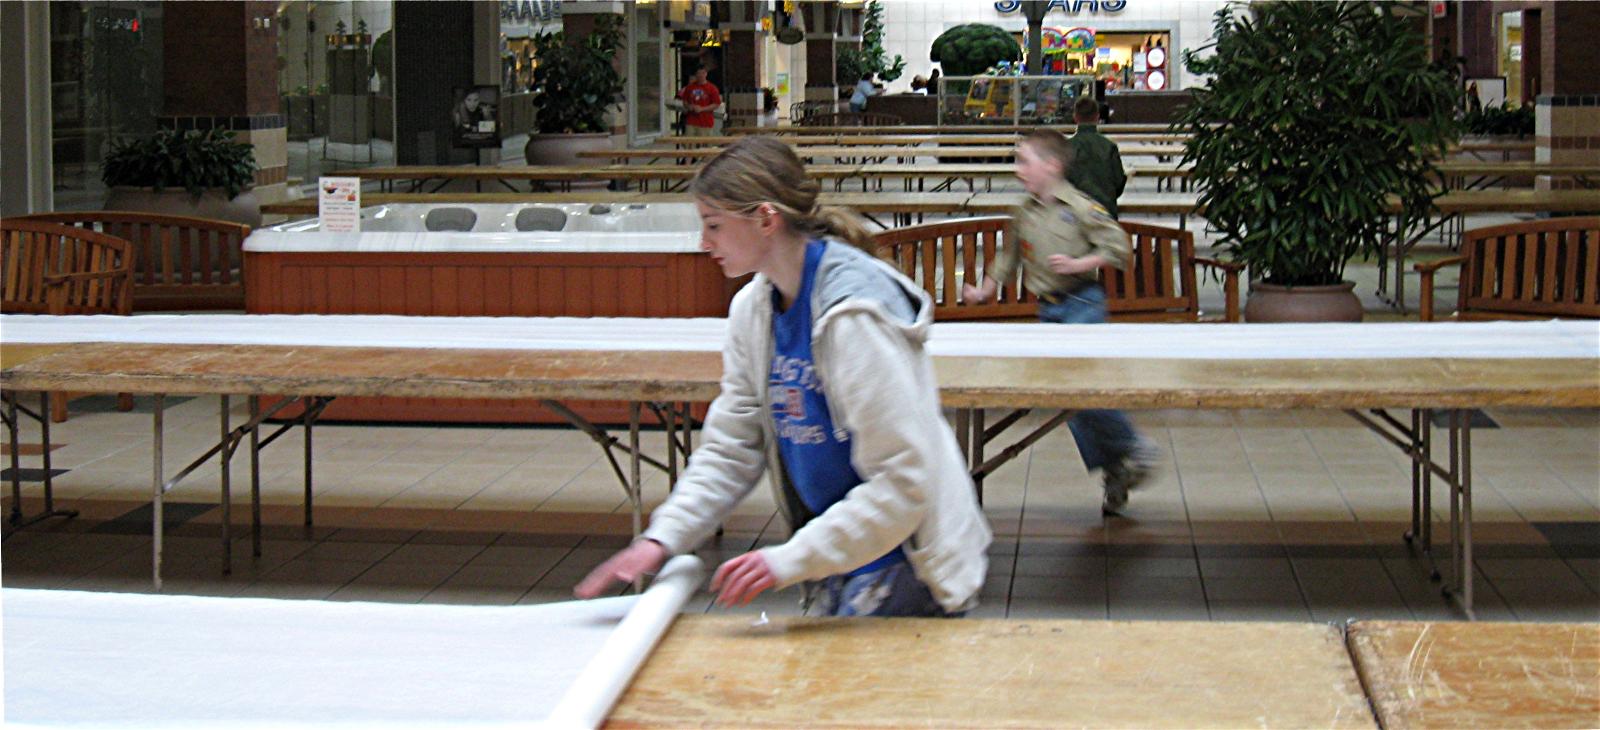
Step 3: Cover the tables with plastic, to provide an attractive and splinter-free surface for the exhibits. Here two young helpers make short work of unrolling the plastic.
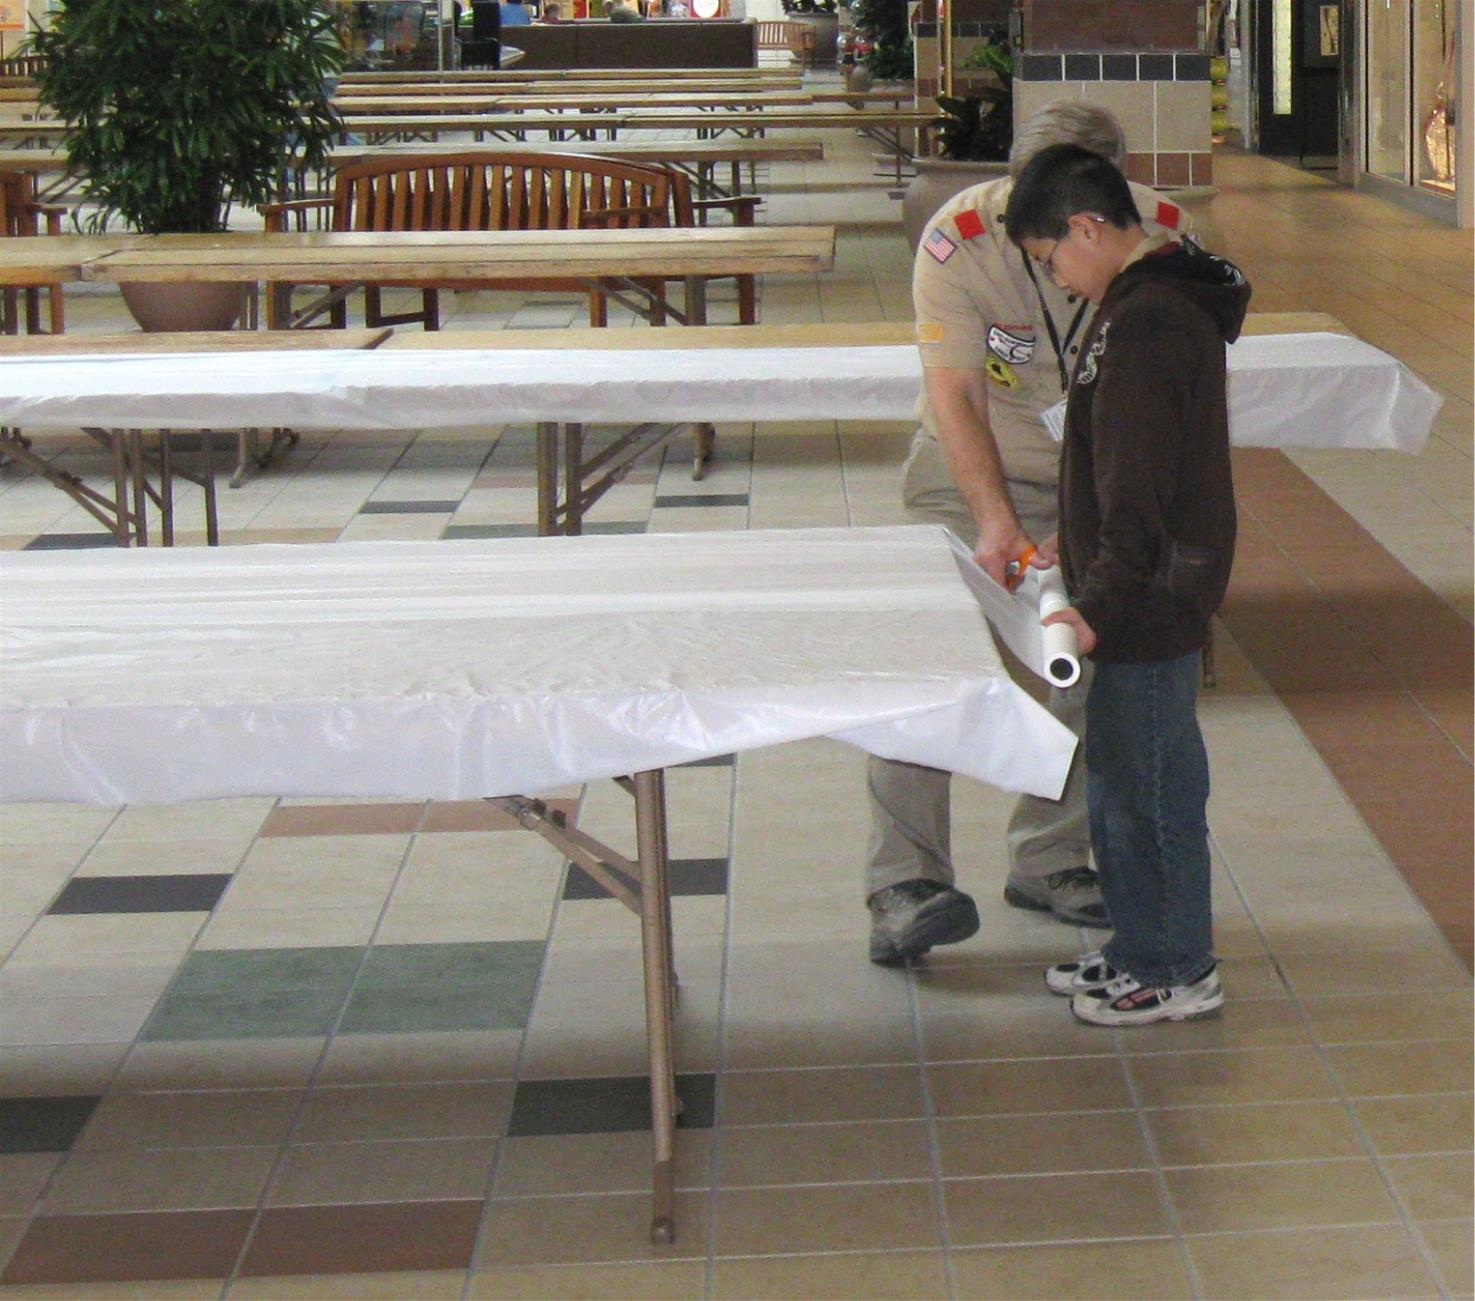
A scout and leader cut the plastic to length.
Skirting
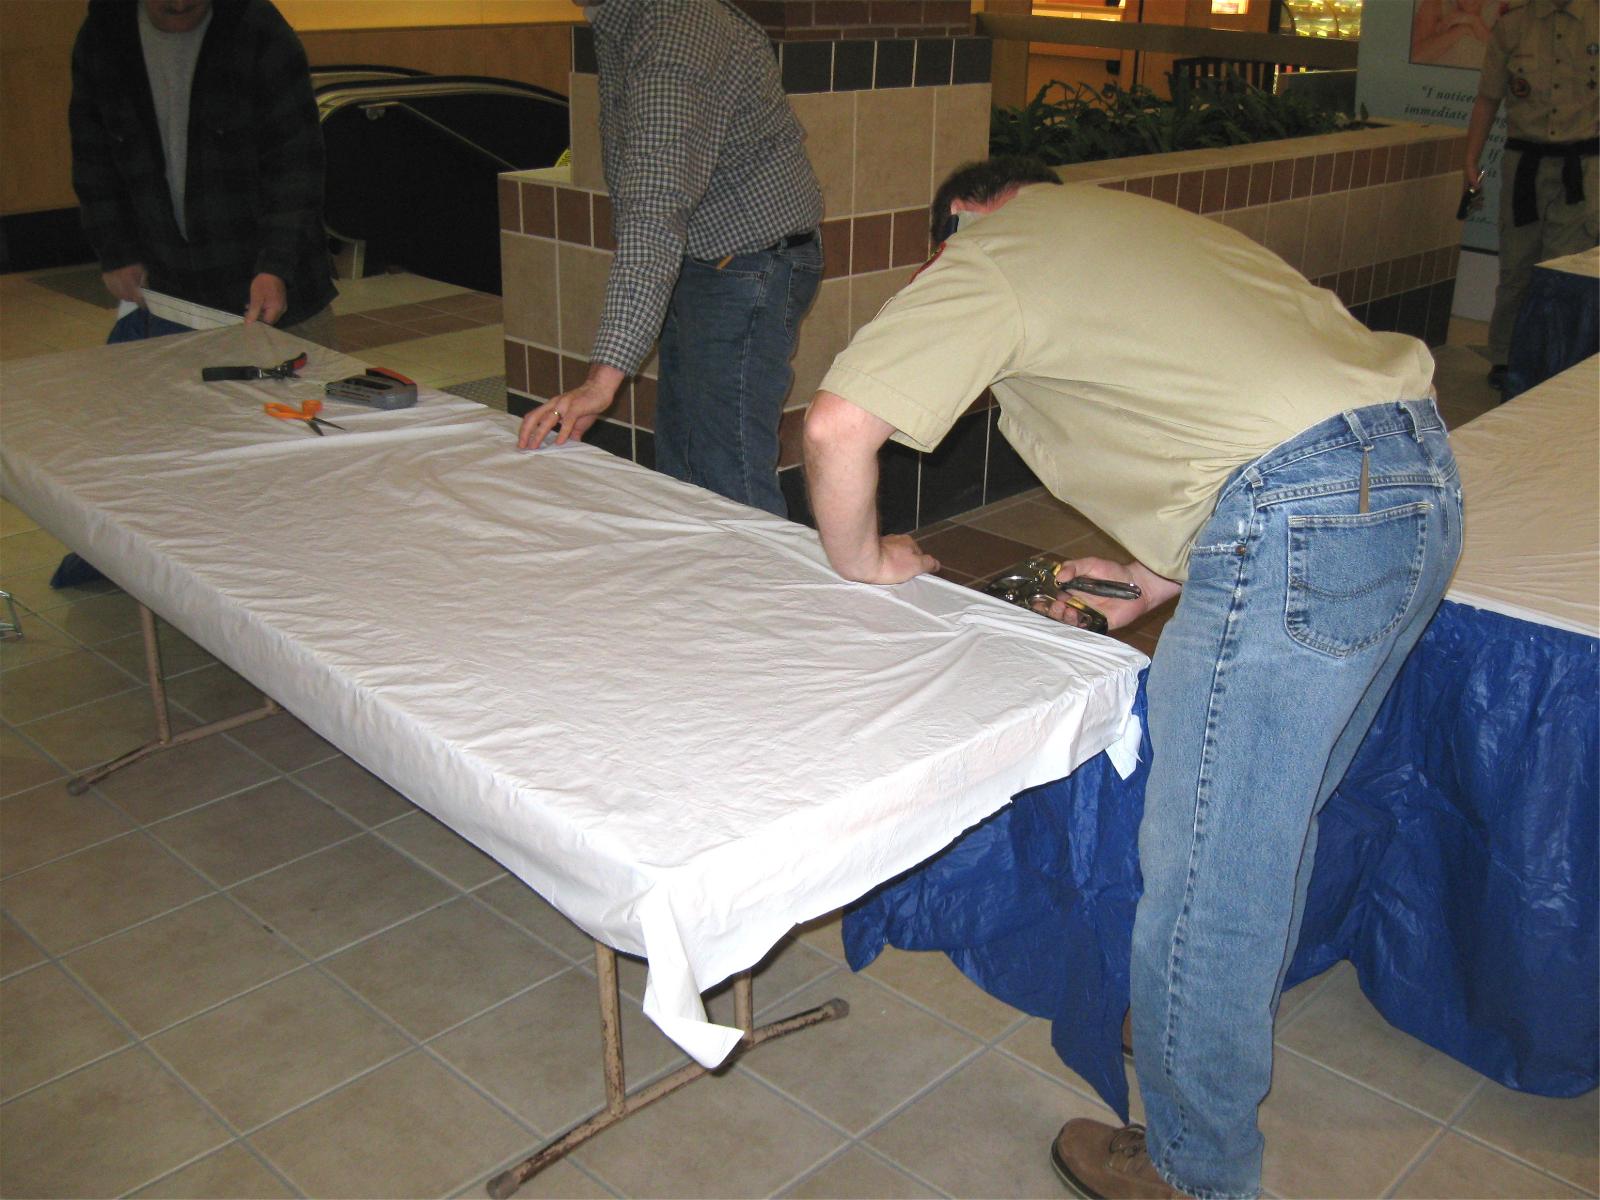
Here volunteers are spreading a skirt around the table and have started stapling it.
The skirts make the tables look better and let the students hide stuff underneath.
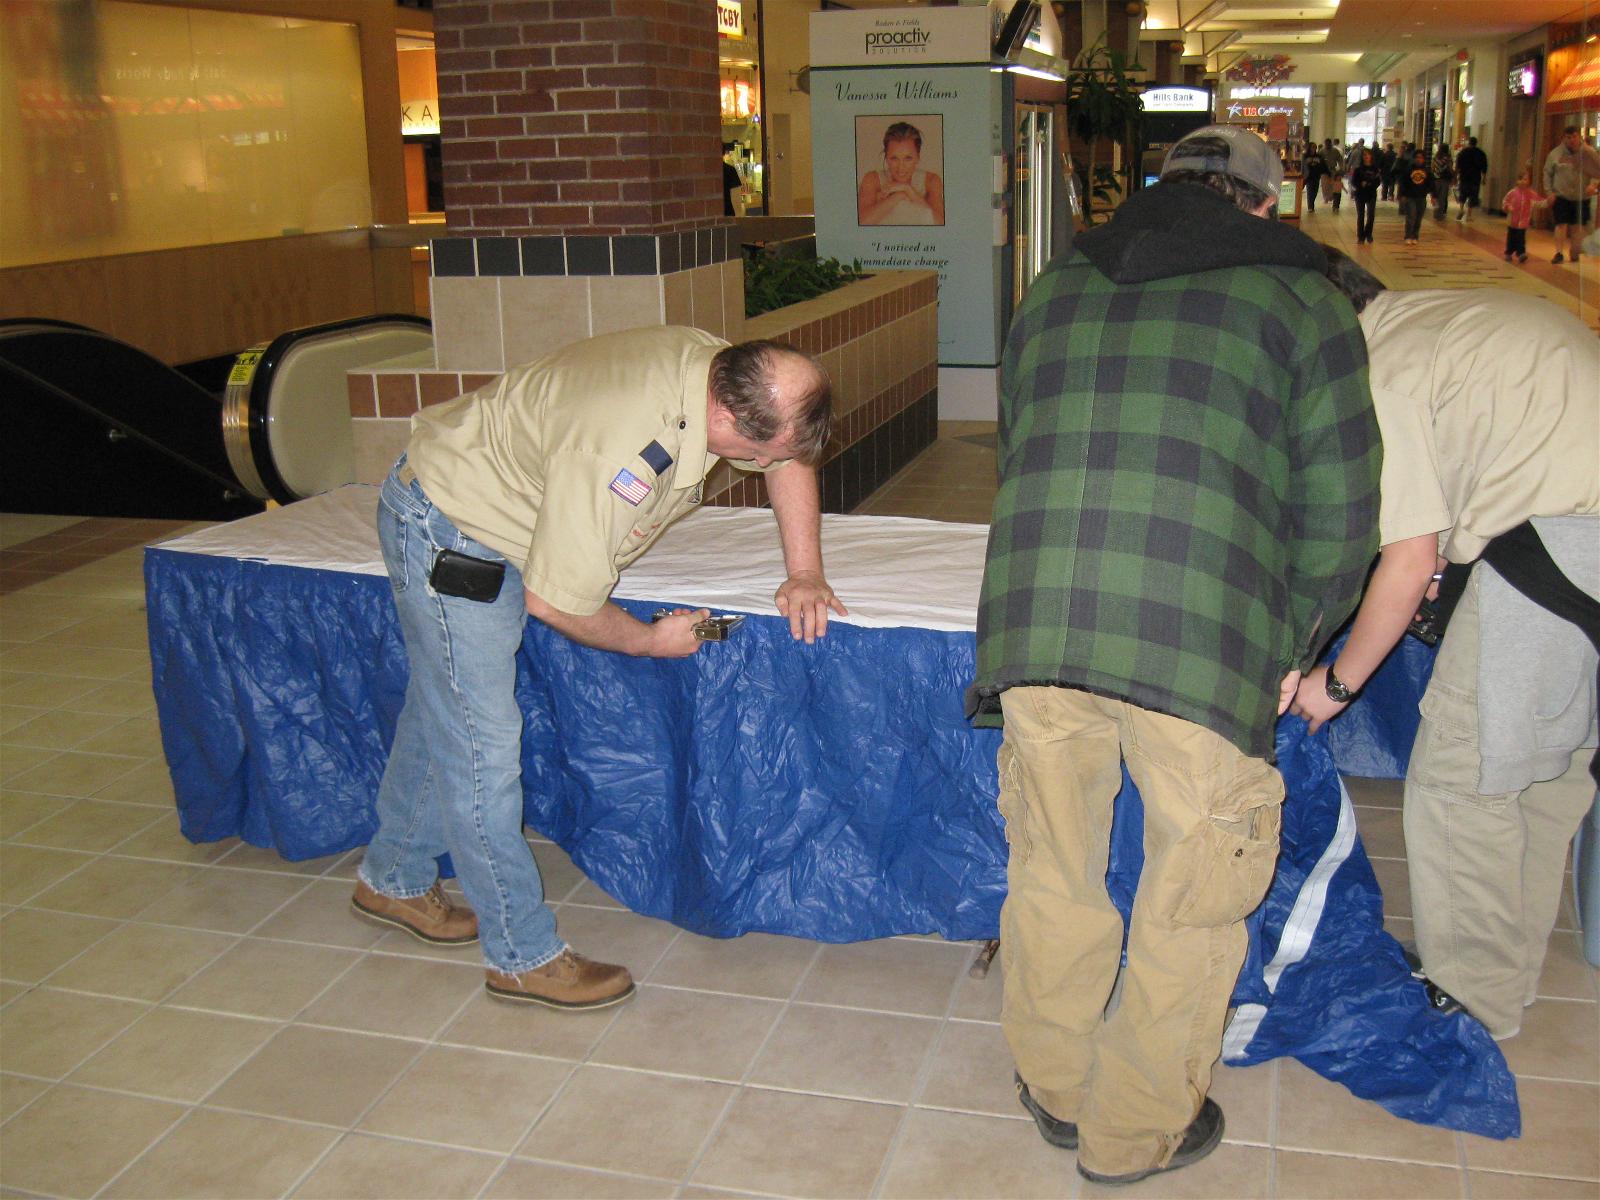
Another view of the skirt stapling.
Dividing
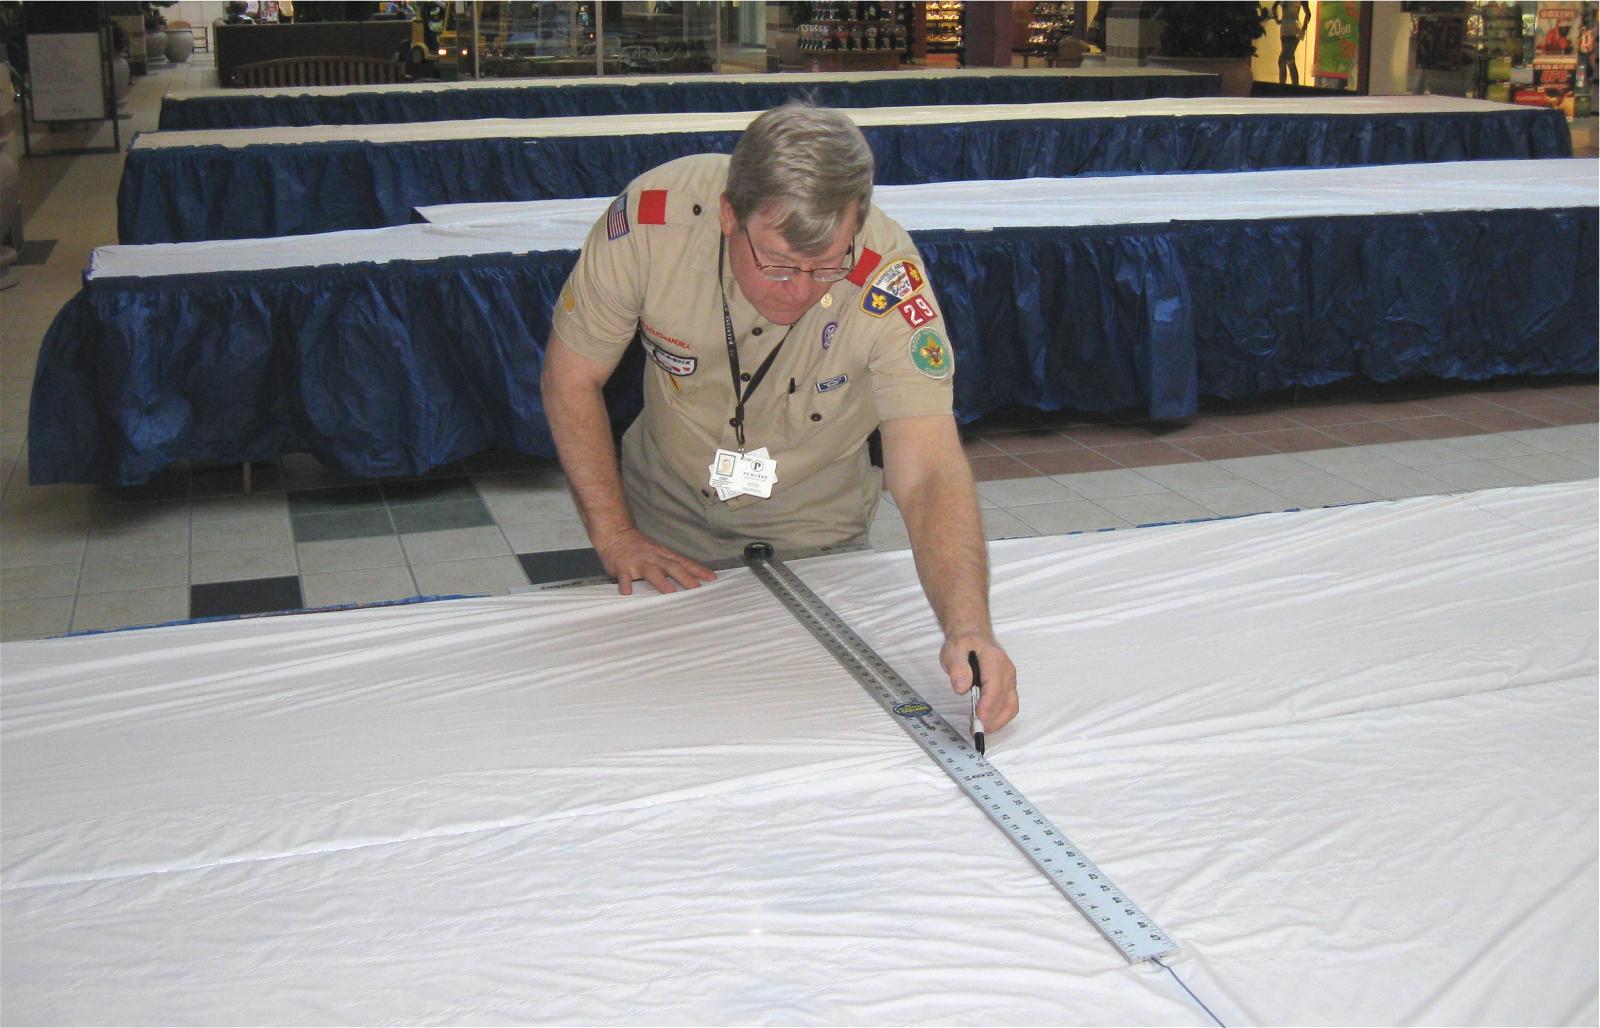
The exhibit tables are 8 feet long; most exhibits are allowed 4 feet of table. Otto Rajtora, leader of Troop 29, marks the boundary lines on the plastic covering. He’s using a drywall T-square to measure and mark these boundaries.
Numbering
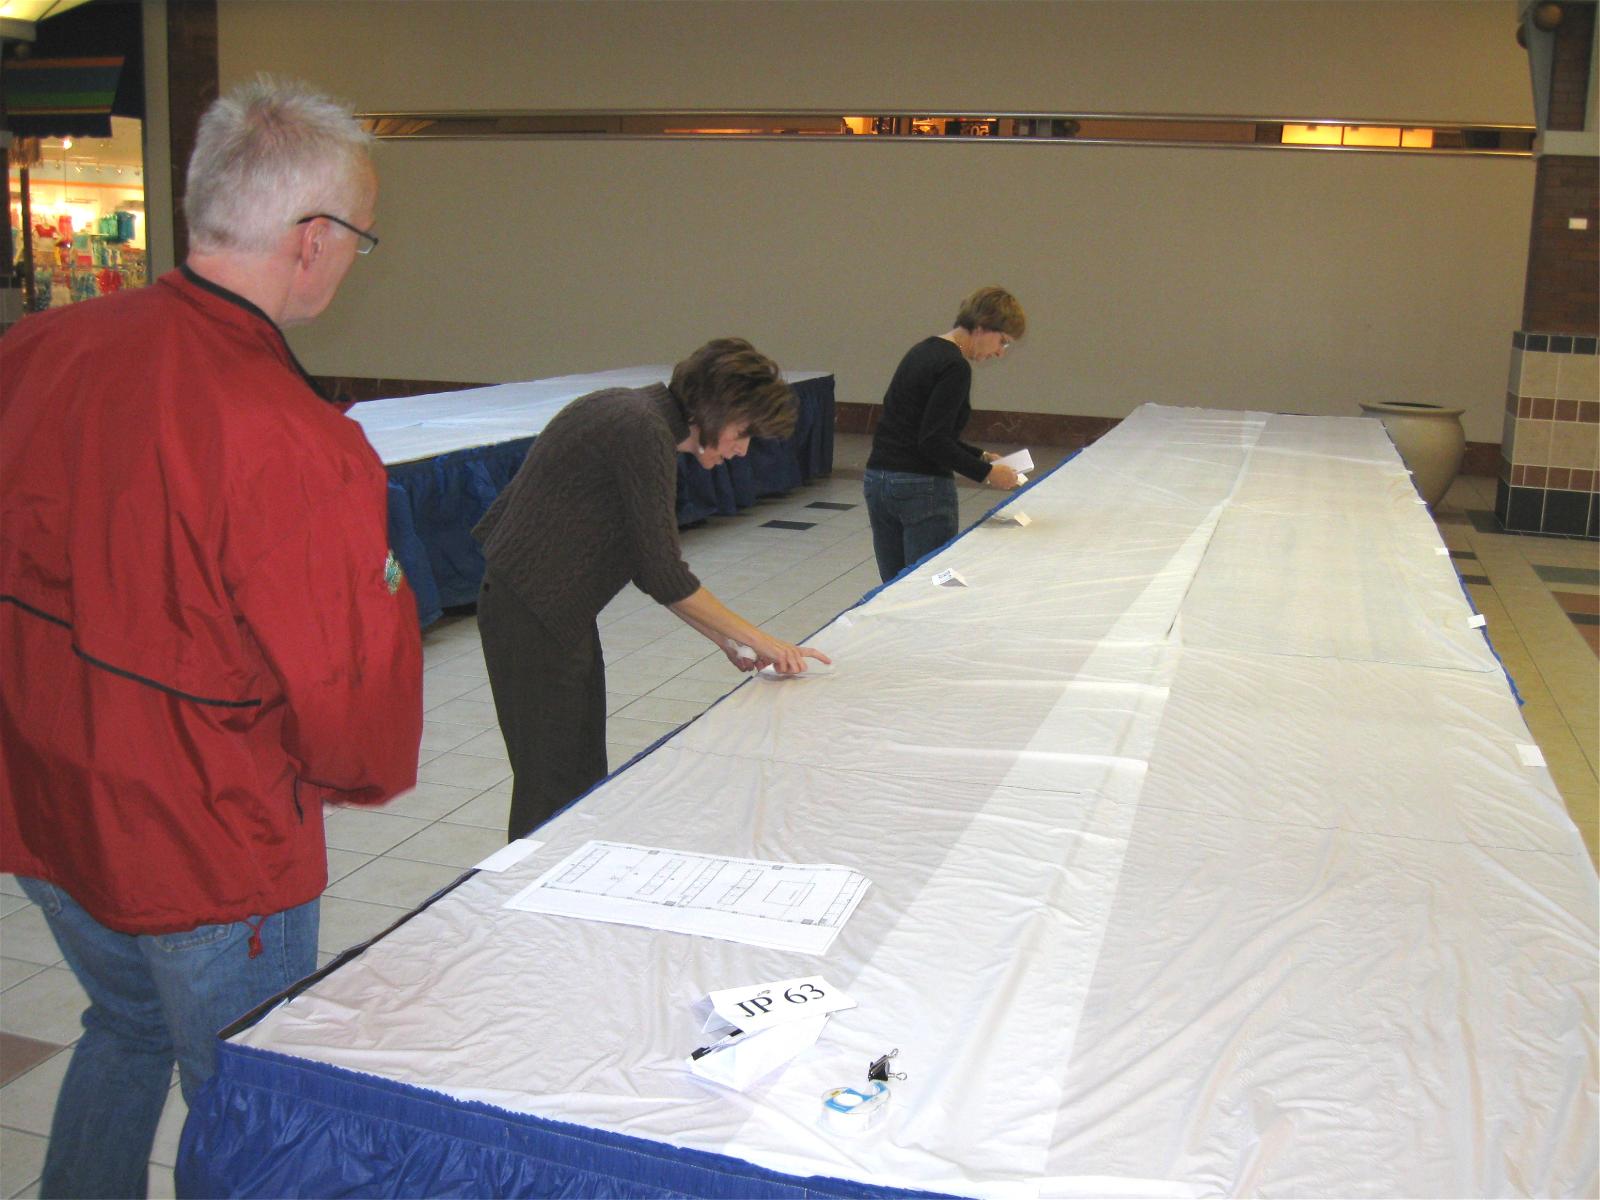
Here the Safety & Standards committee labels the tables with exhibit numbers. (Front–back) Nick Noreuil, Susan Noreuil, Linda Kelly.
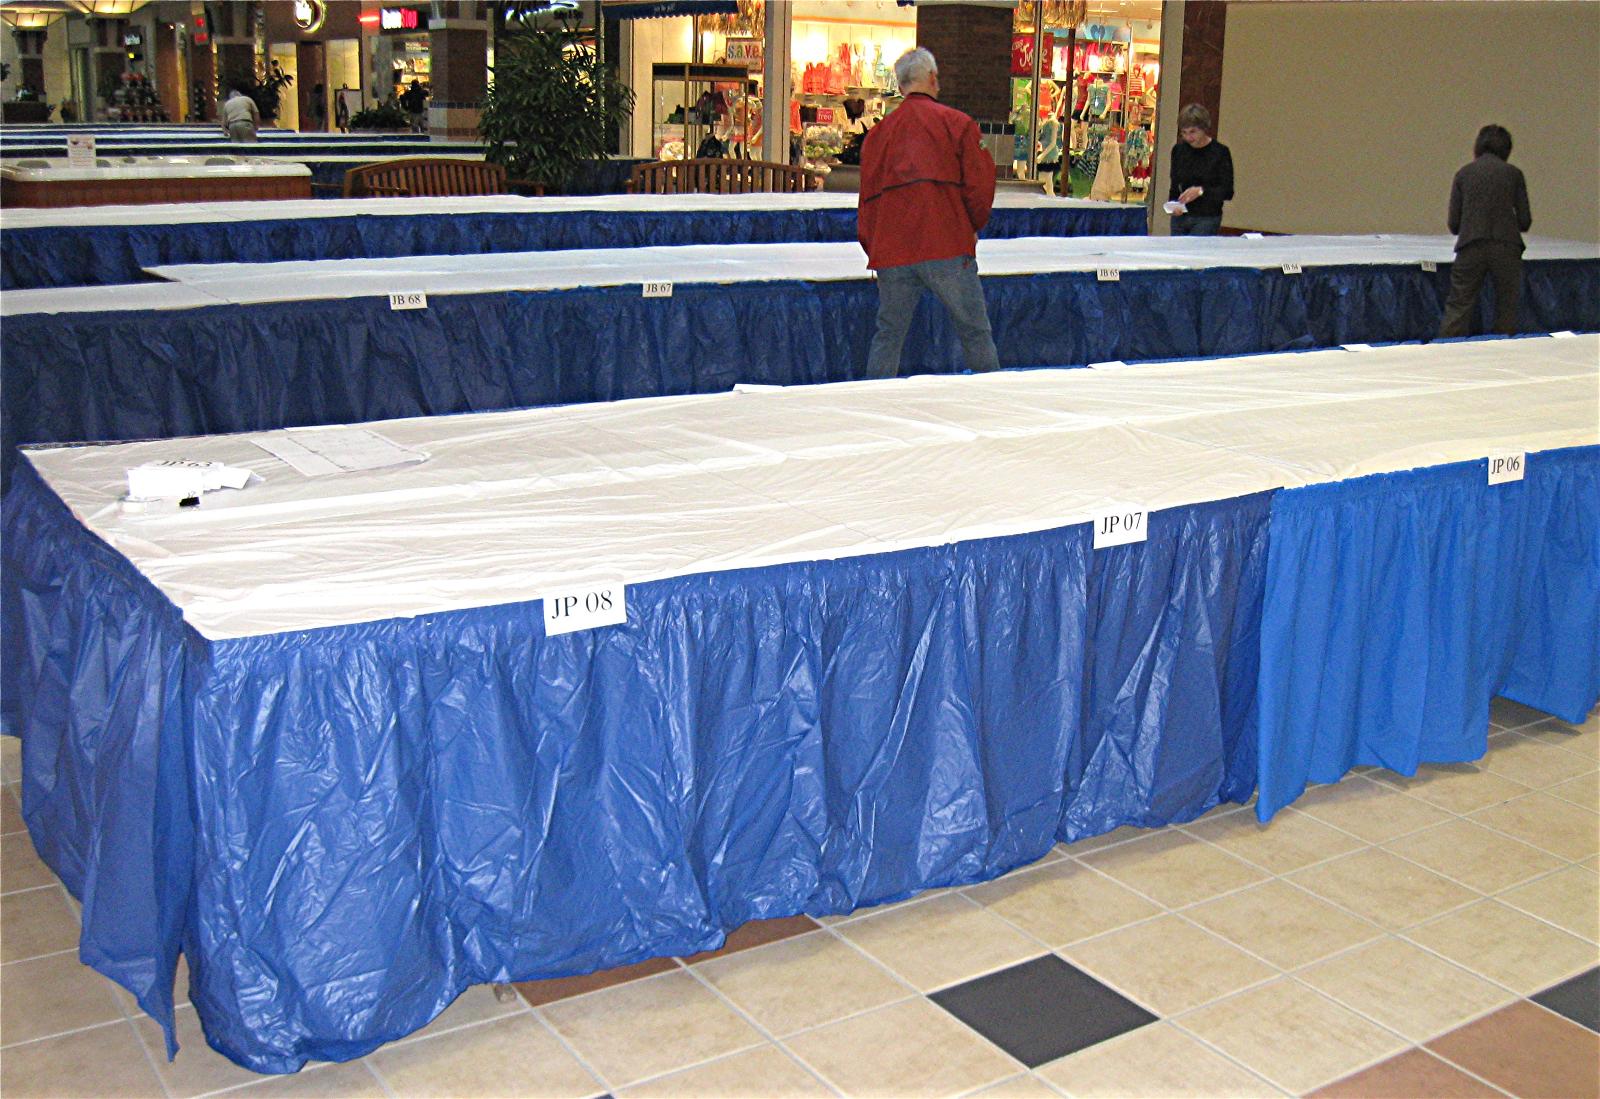
Some bare tables showing the exhibit numbers.