
Boy scouts are helpful
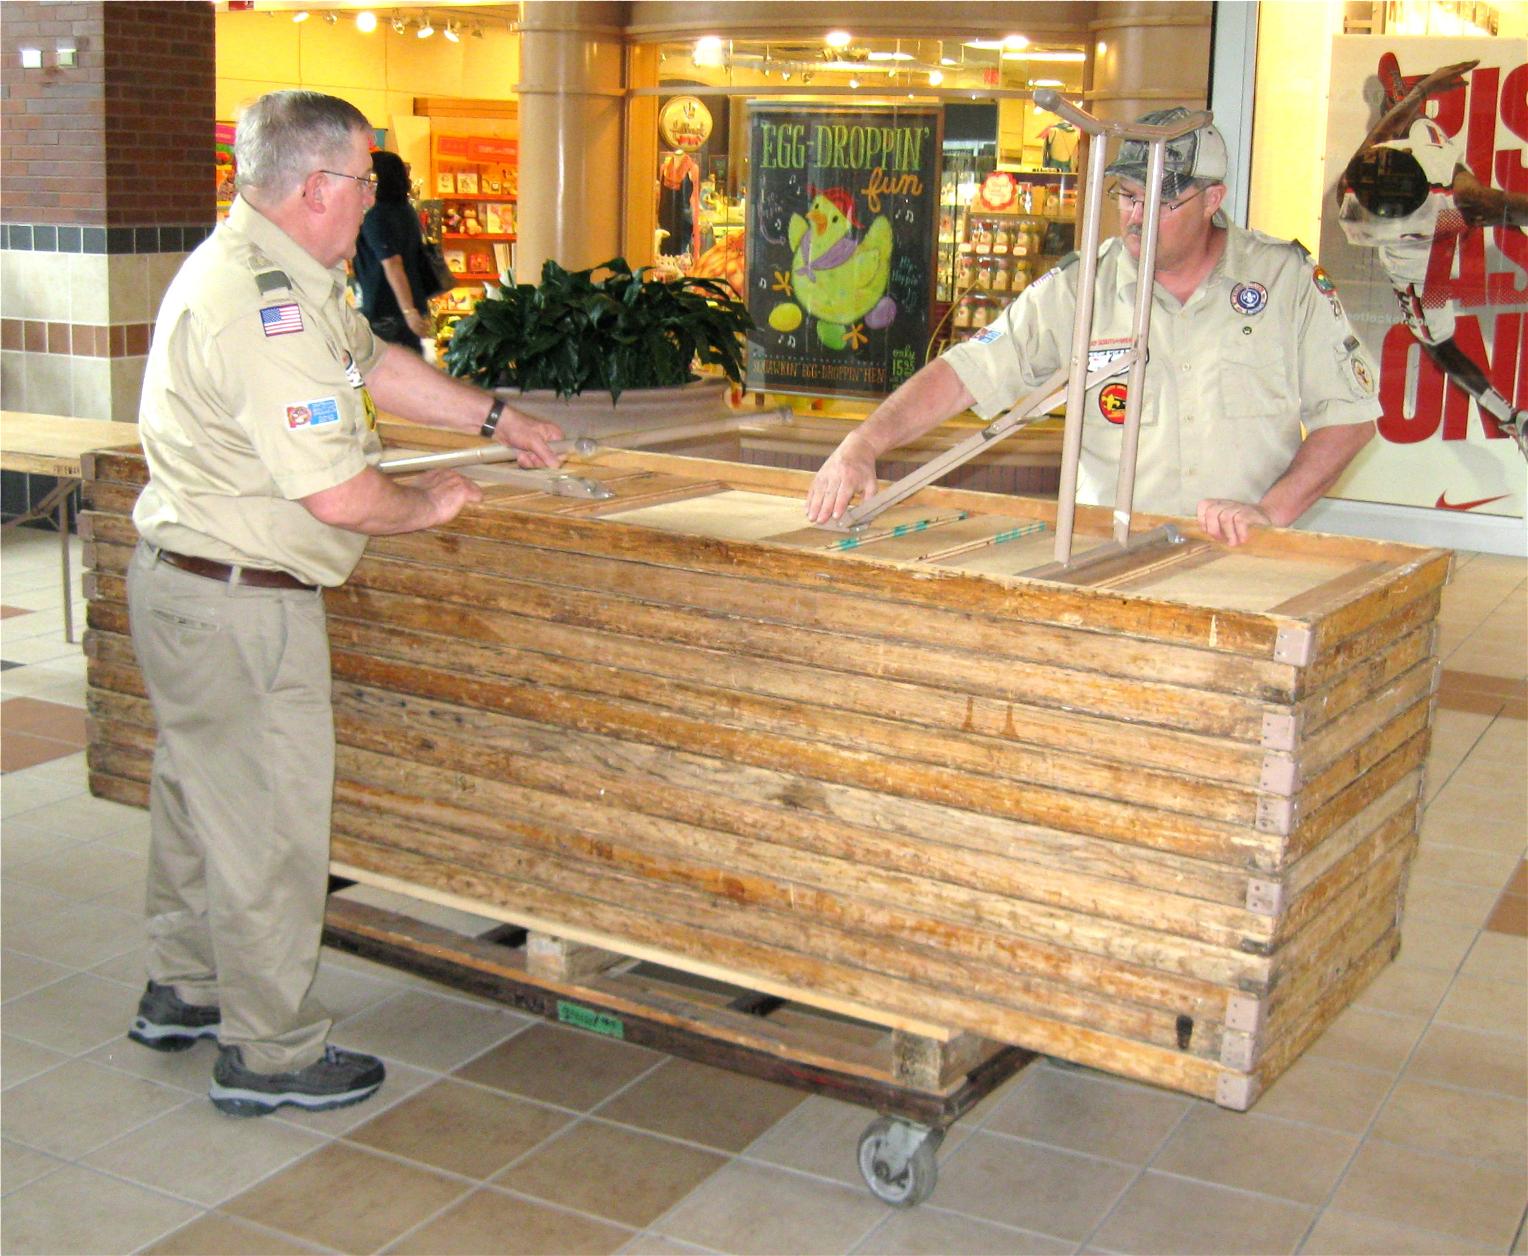
Boy scout leaders set up tables. Step 1: extend the legs on the stack, so you’re not trying to do it under the table.
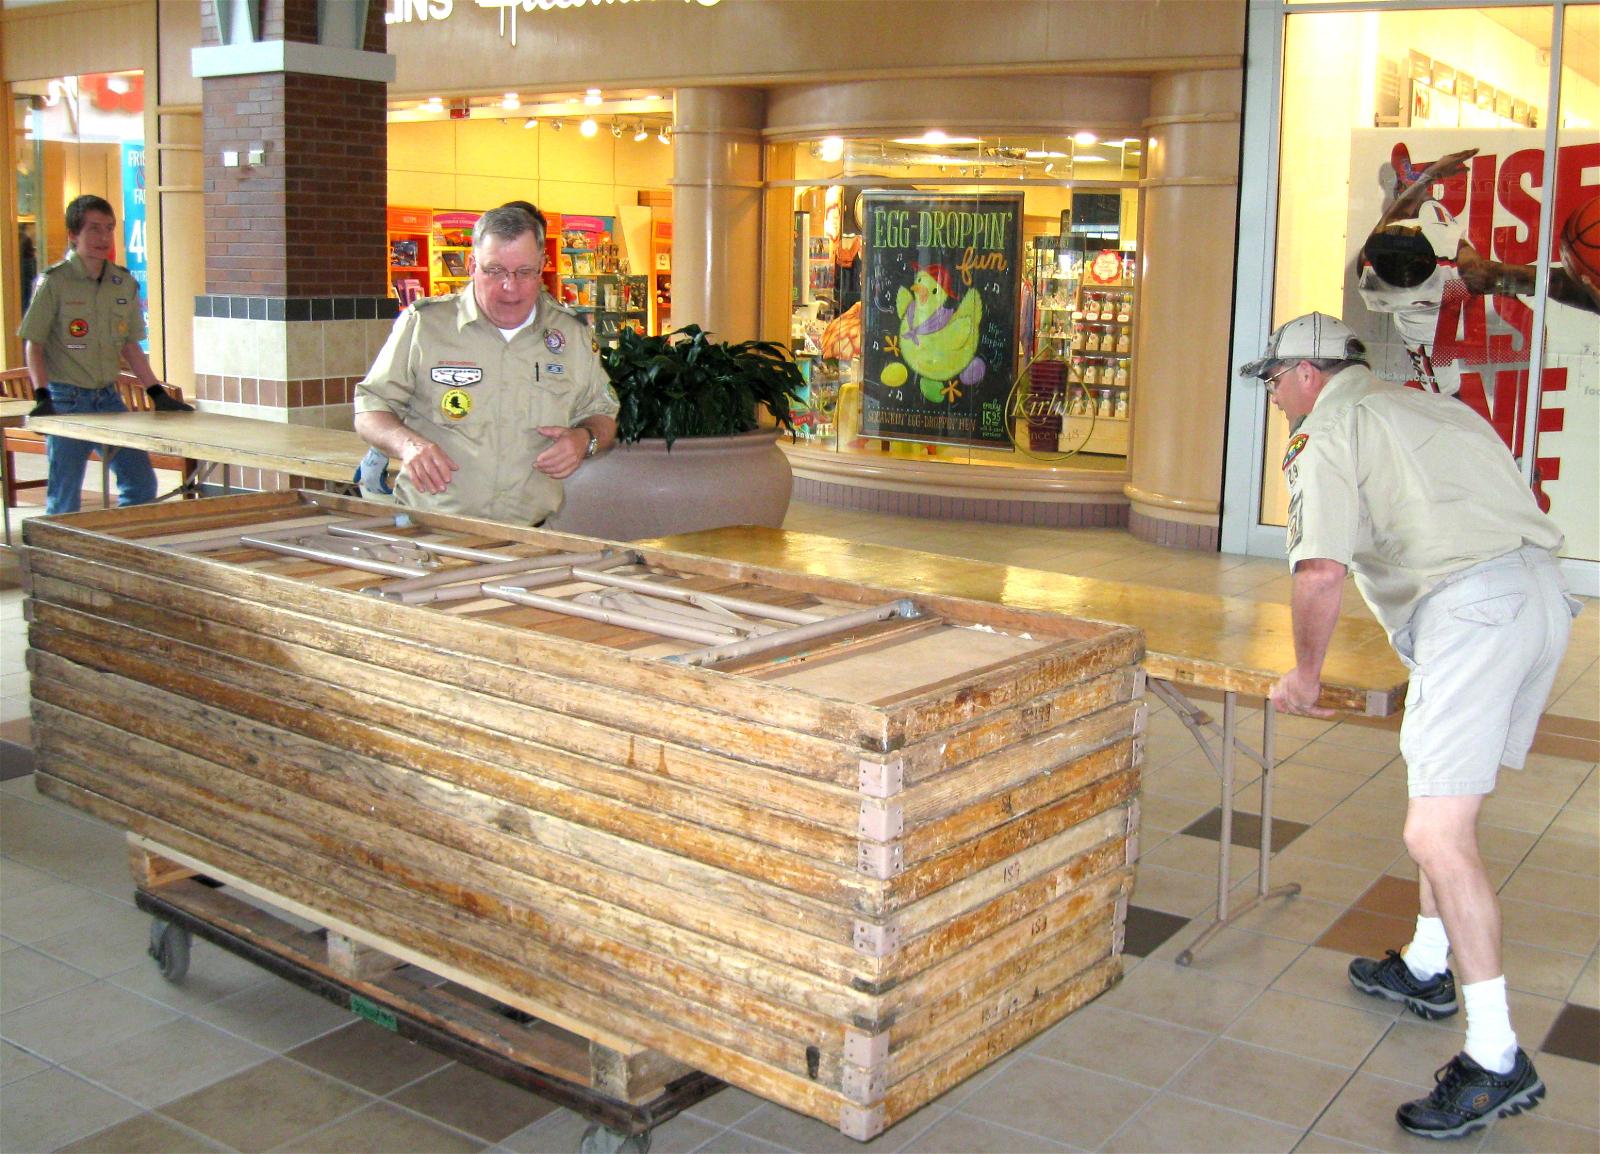
Setting up tables, step 2: turn the table over on to its legs.
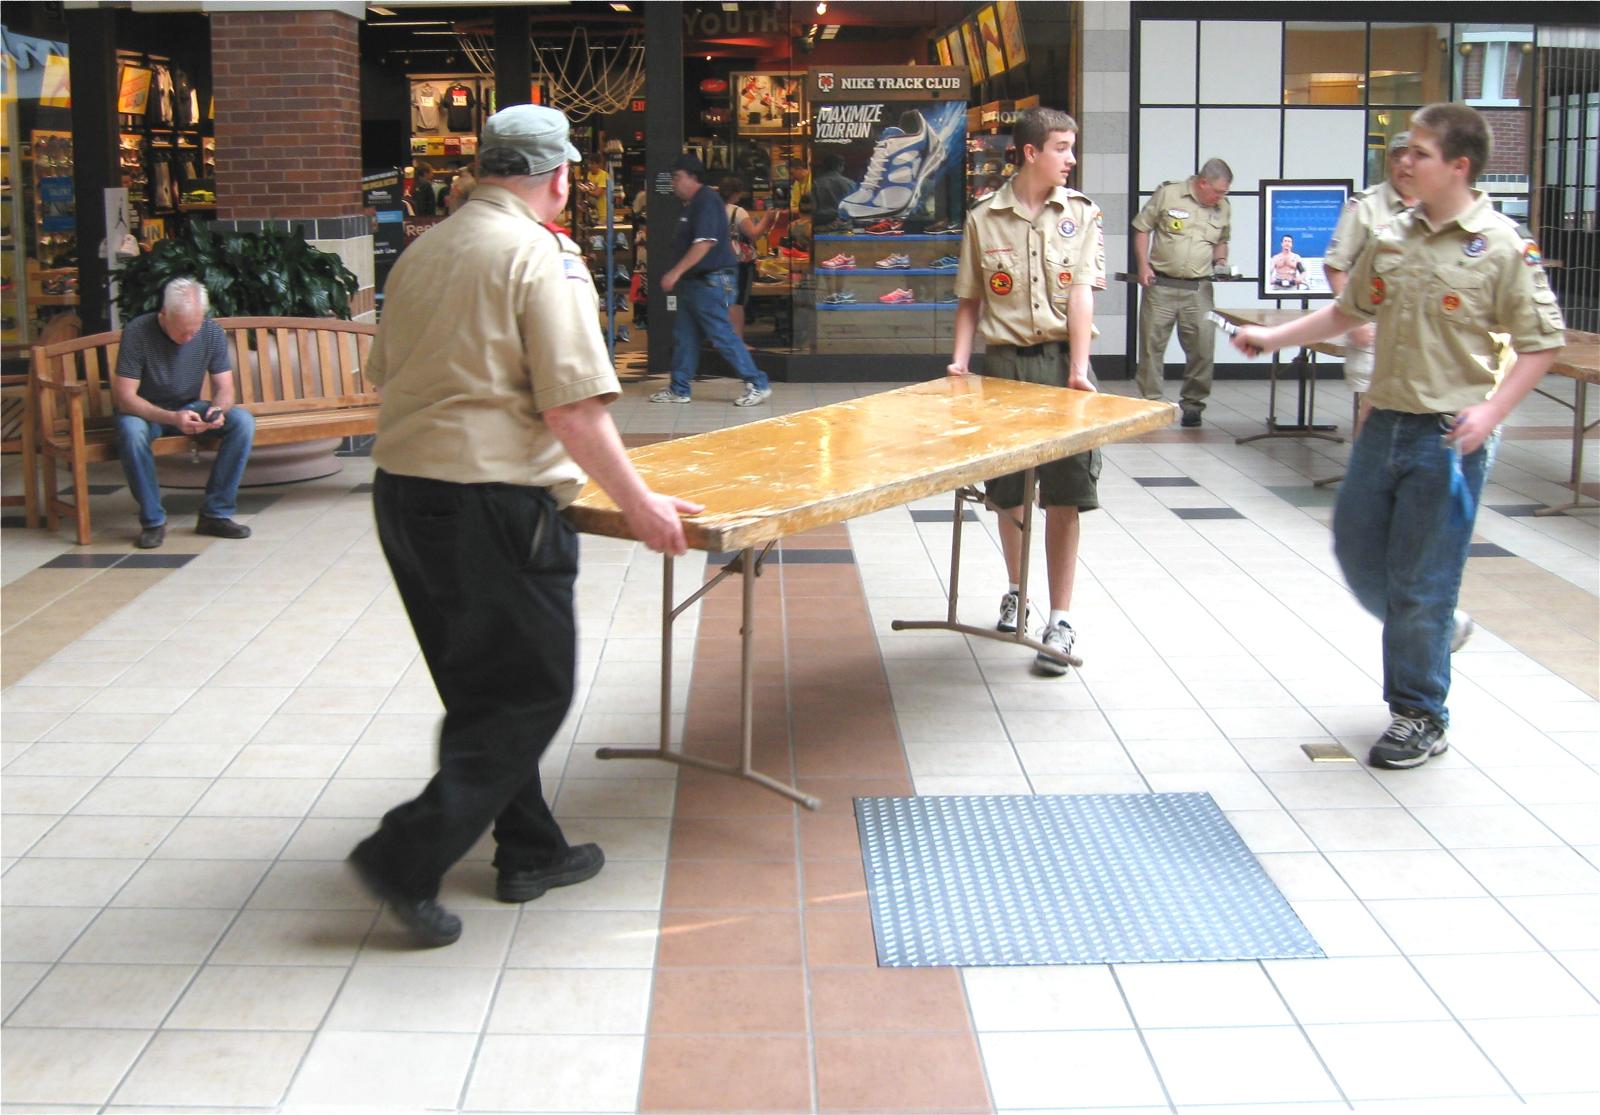
Positioning
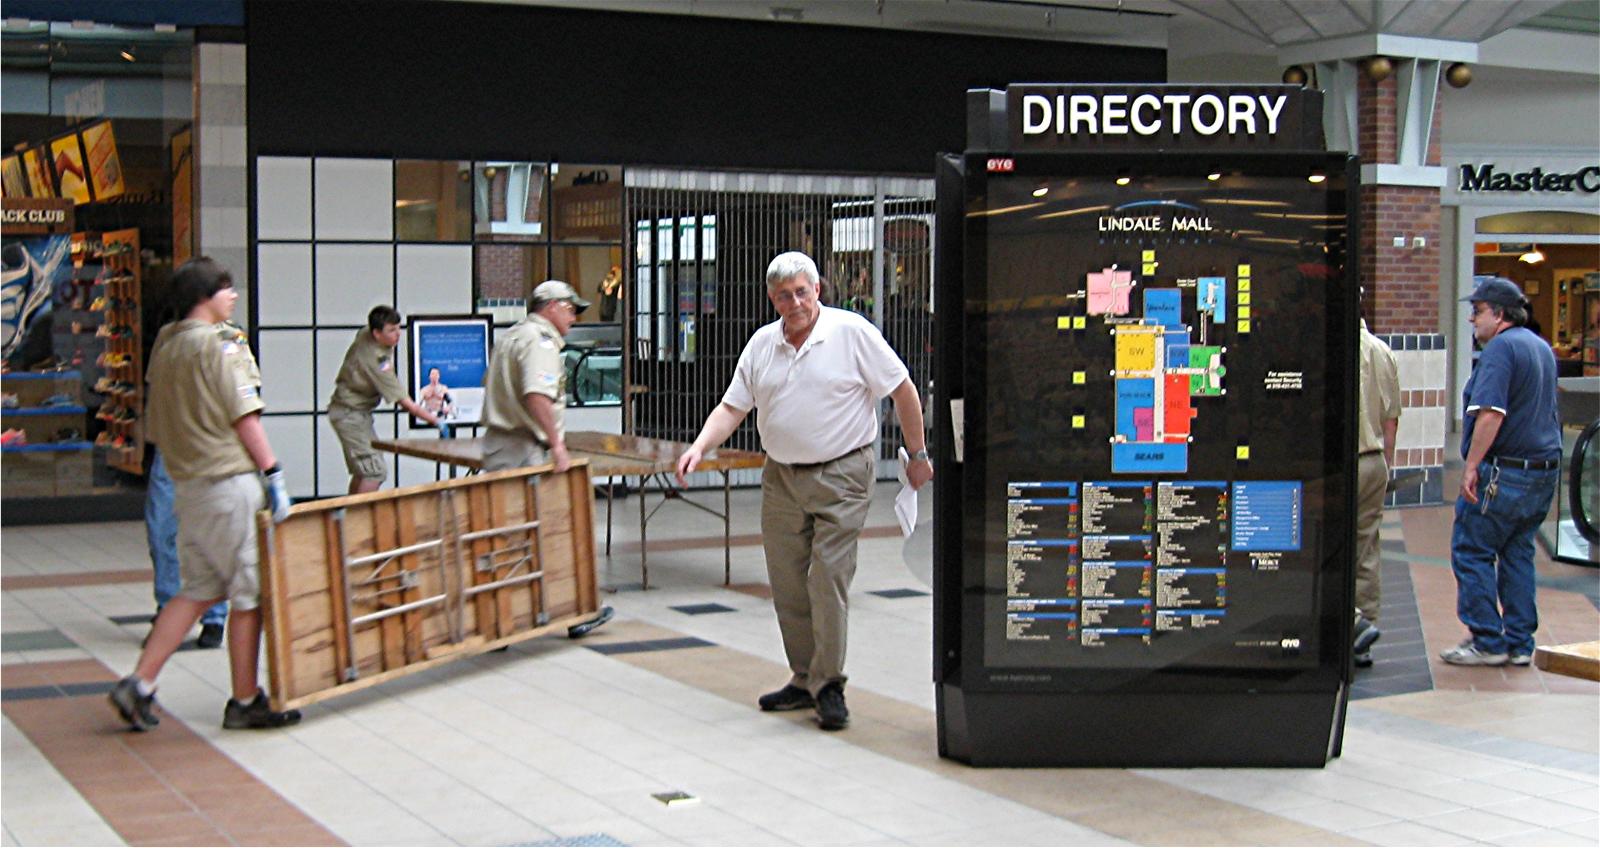
Walker Kelly (center, white shirt) directs traffic, ensuring the tables go where they’re supposed to.
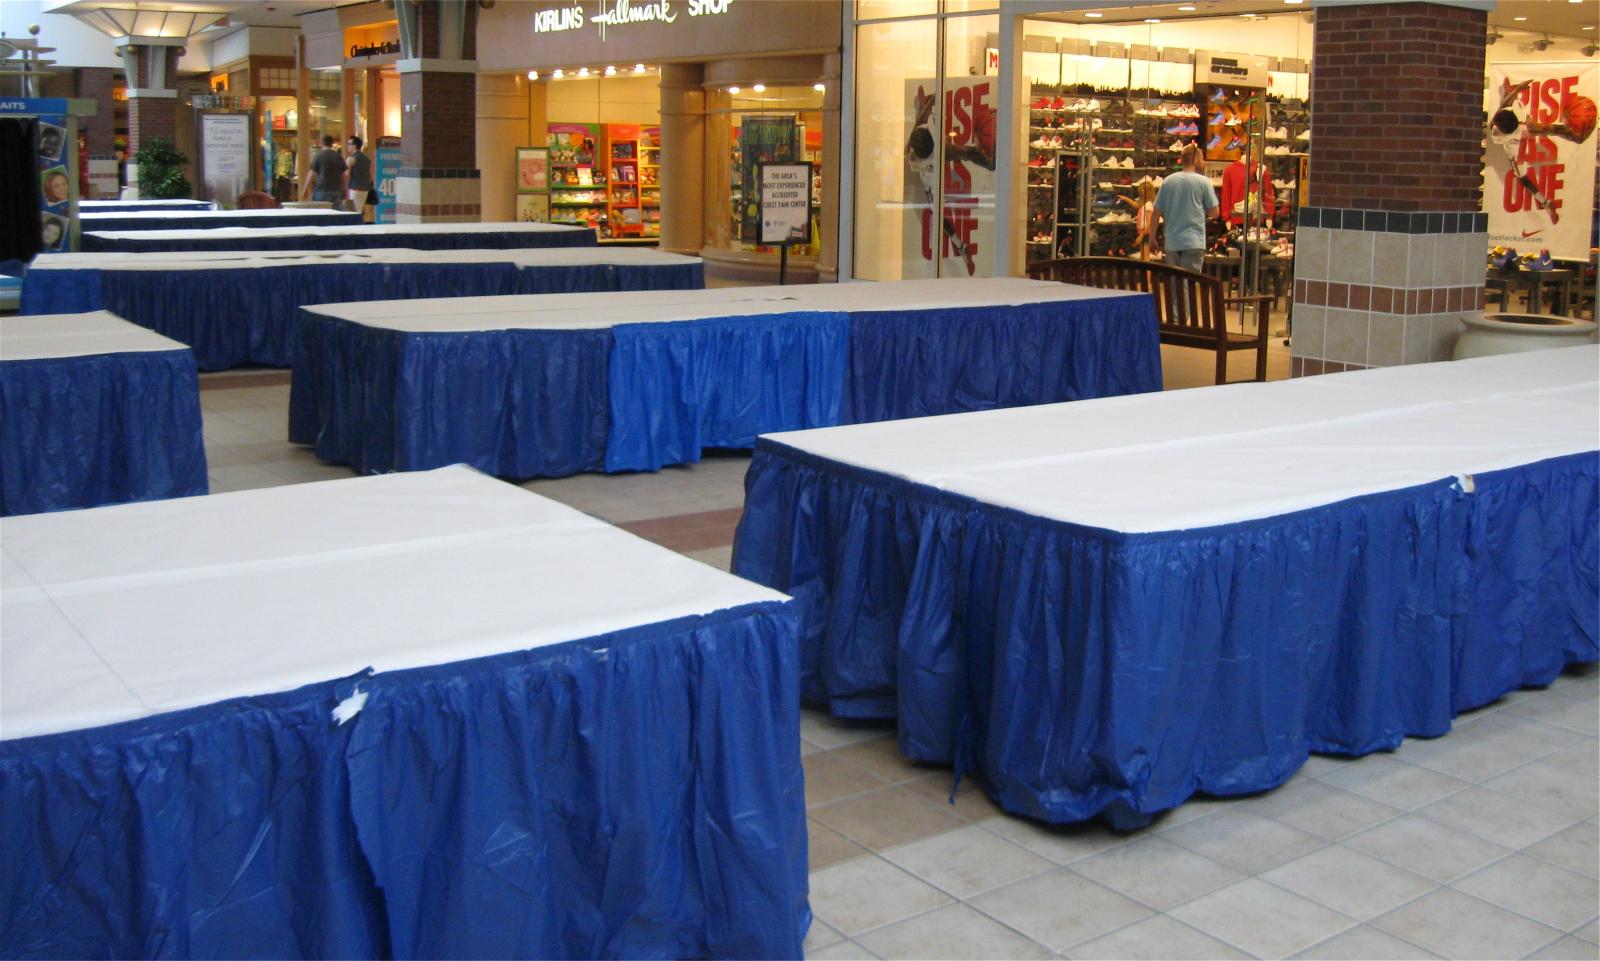
Papering
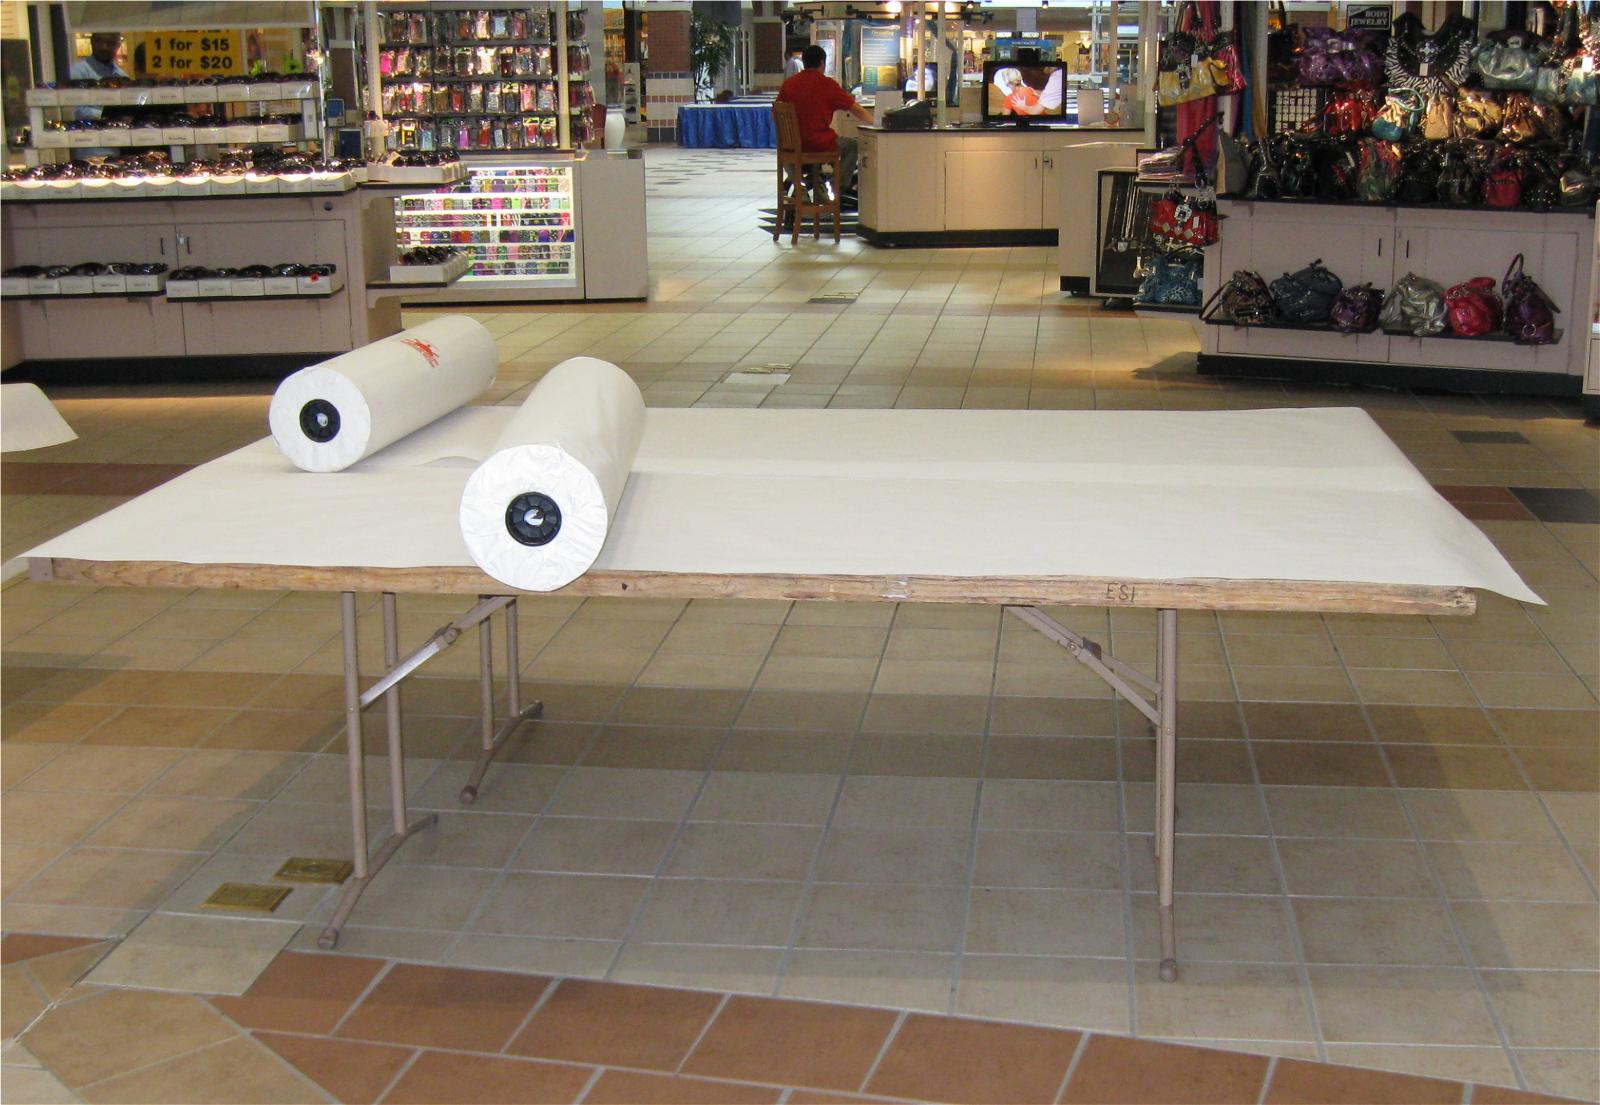
The wooden tables are splintery and quite nasty; we cover them with paper to give an attractive, splinter-free surface for the student exhibits. This year we bought paper in the heavy rolls you see here; rolling this paper out is much harder than most years.
Skirts
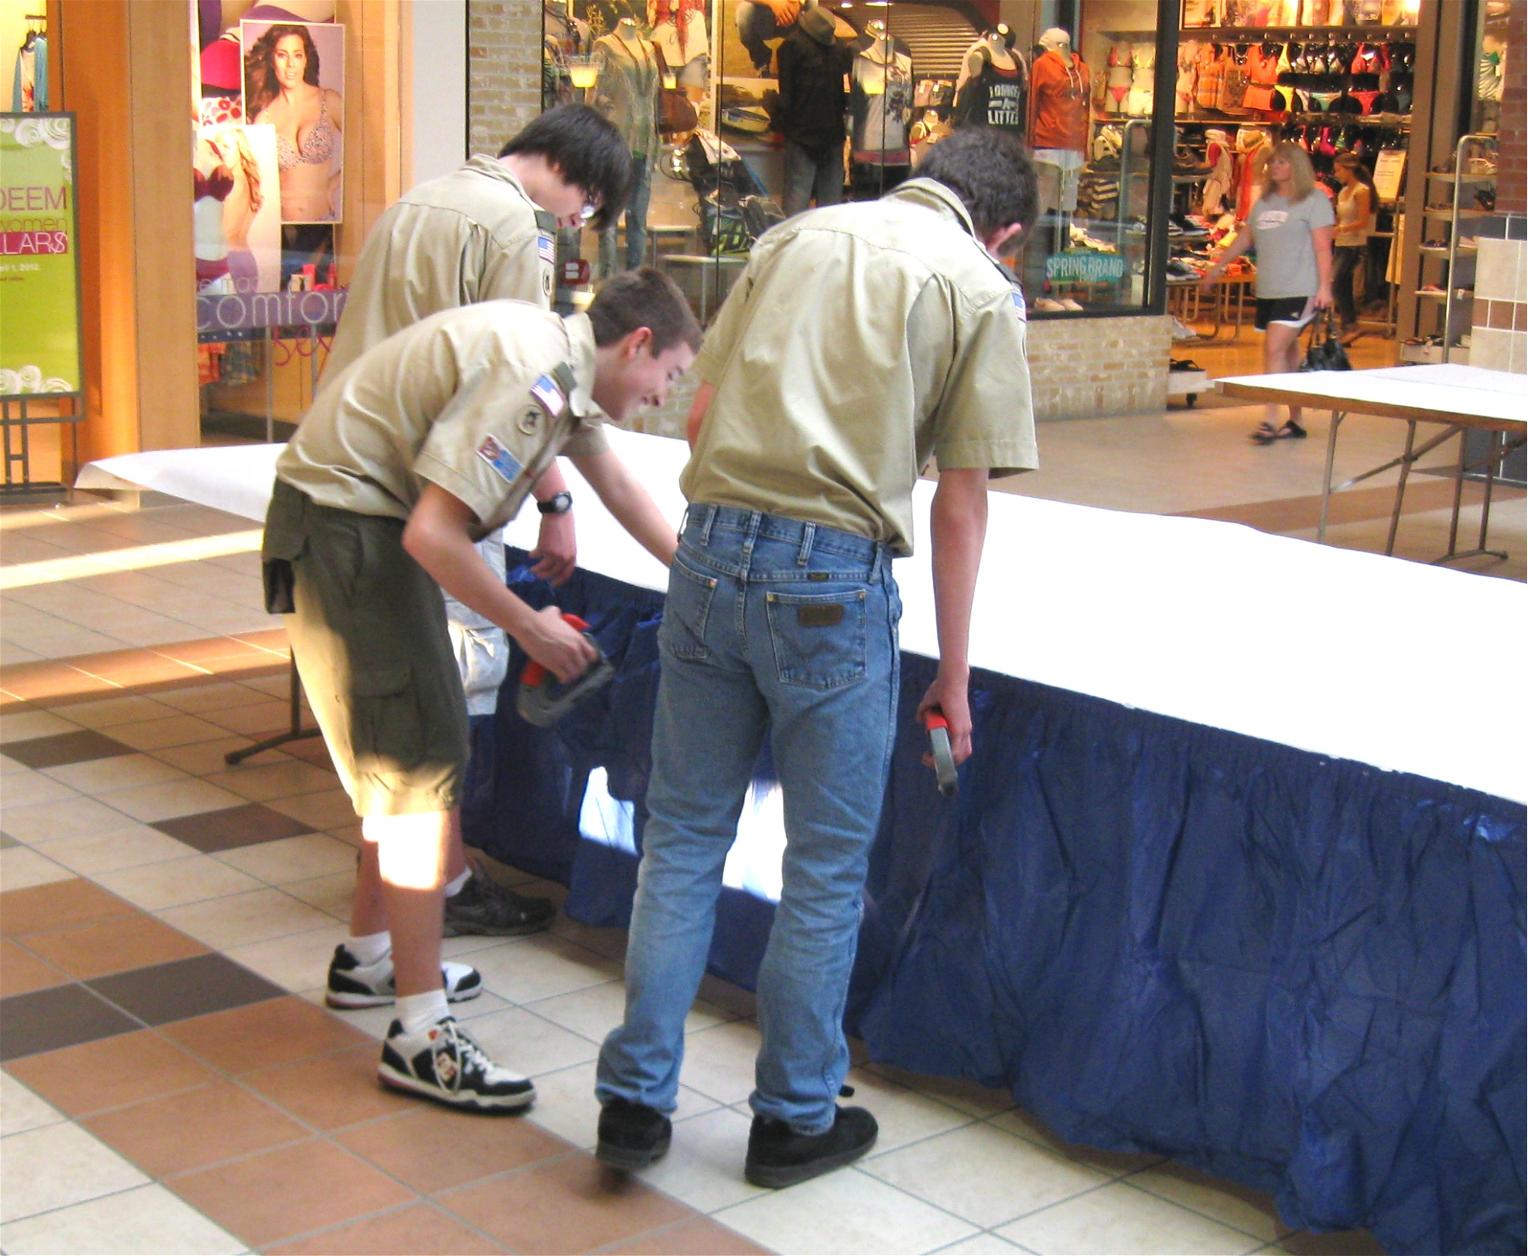
Boy scouts staple skirts around the covered exhibit tables. The skirts make the tables look nice, and allow the students to hide stuff underneath.
Marking the boundaries A
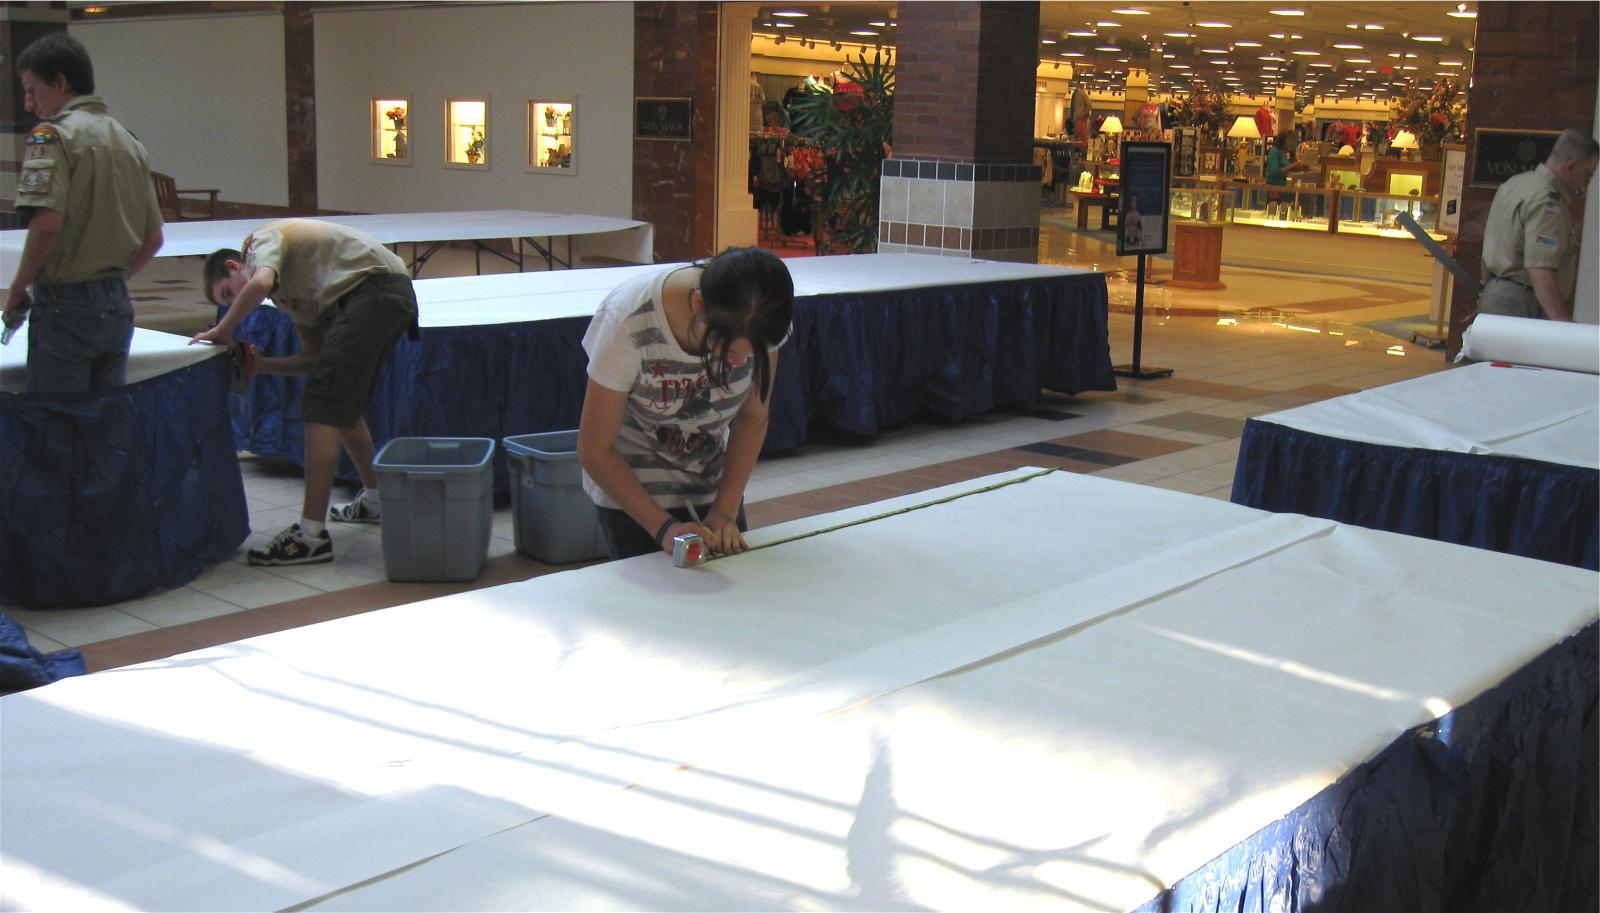
The exhibit tables are 8 feet long; most exhibits are allowed 4 feet of table. A Washington High School volunteer uses a tape measure to find the mid-point of this table.
Marking the boundaries B
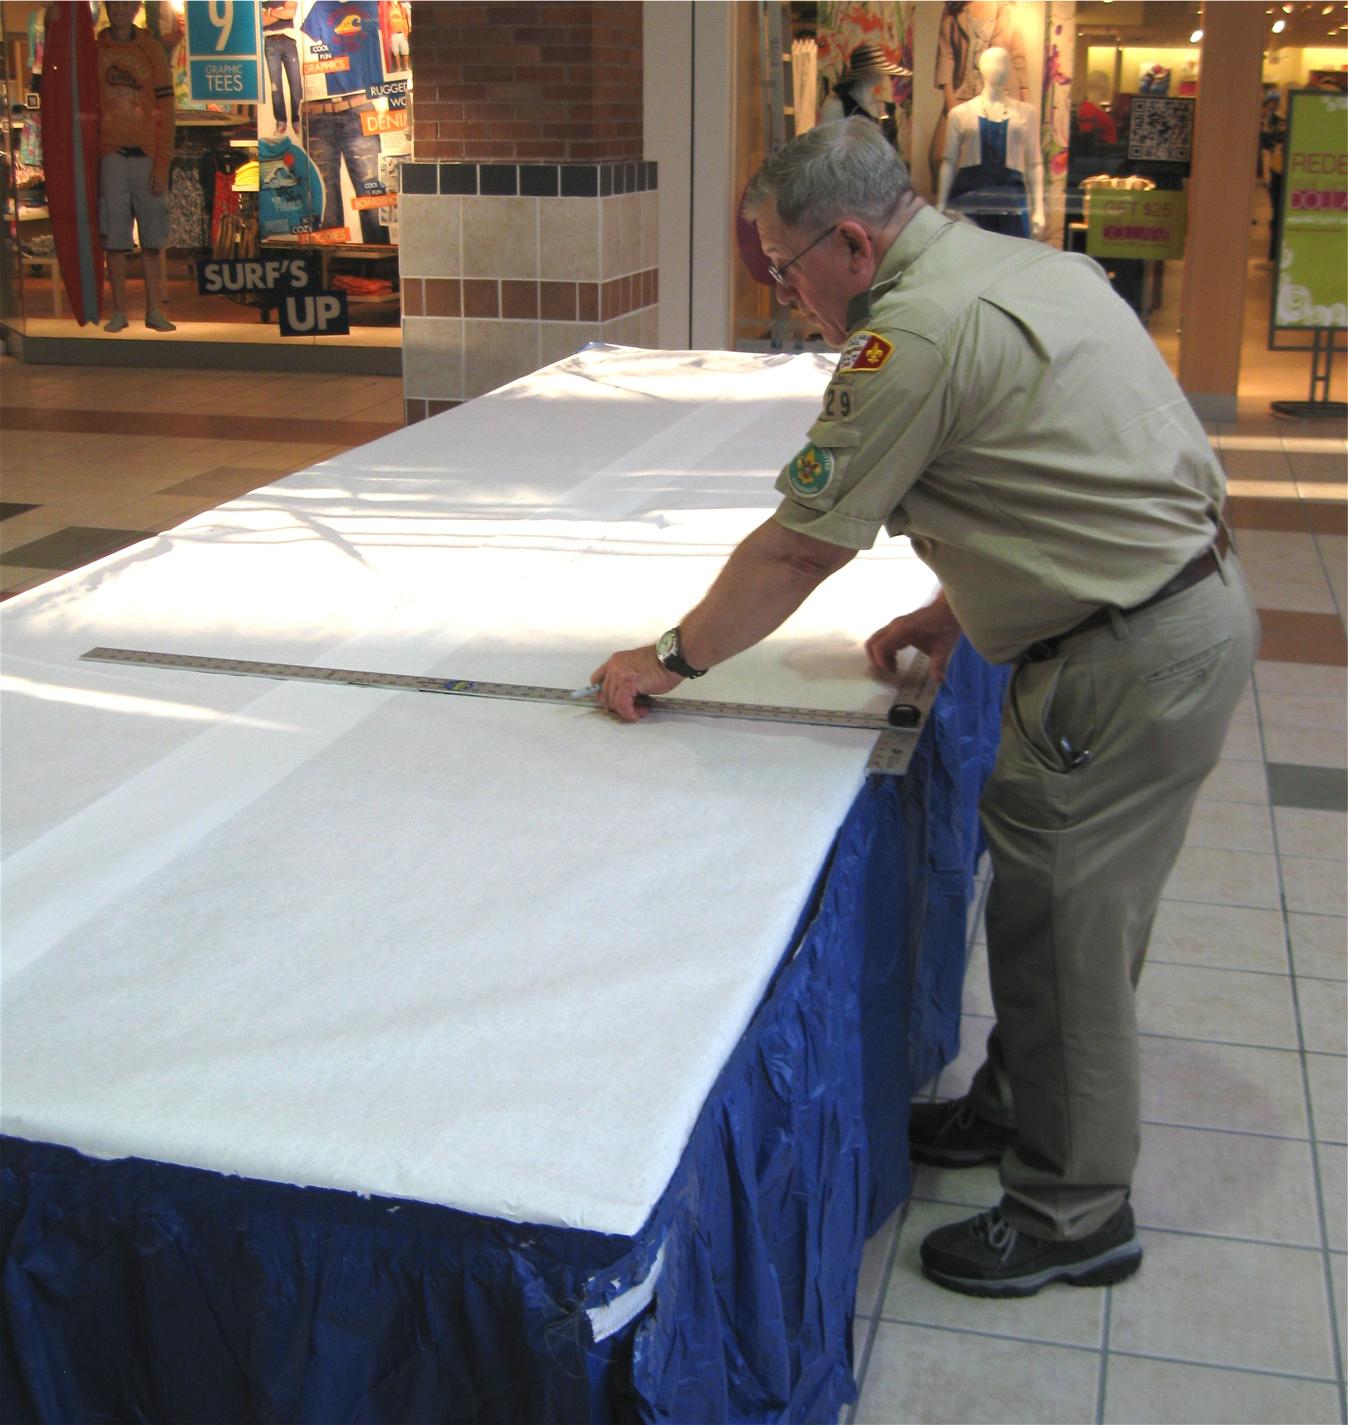
Otto Rajtora used a dry-wall T-square, 4 feet long, to find the mid-point; now he uses it to draw the boundary line.
Ready for numbers
These tables are ready except for the exhibit numbers.
(No, it’s not a trick of the light. We have several sets of skirts, in different shades, and sometimes we mix the different sets.)
The numbers racket
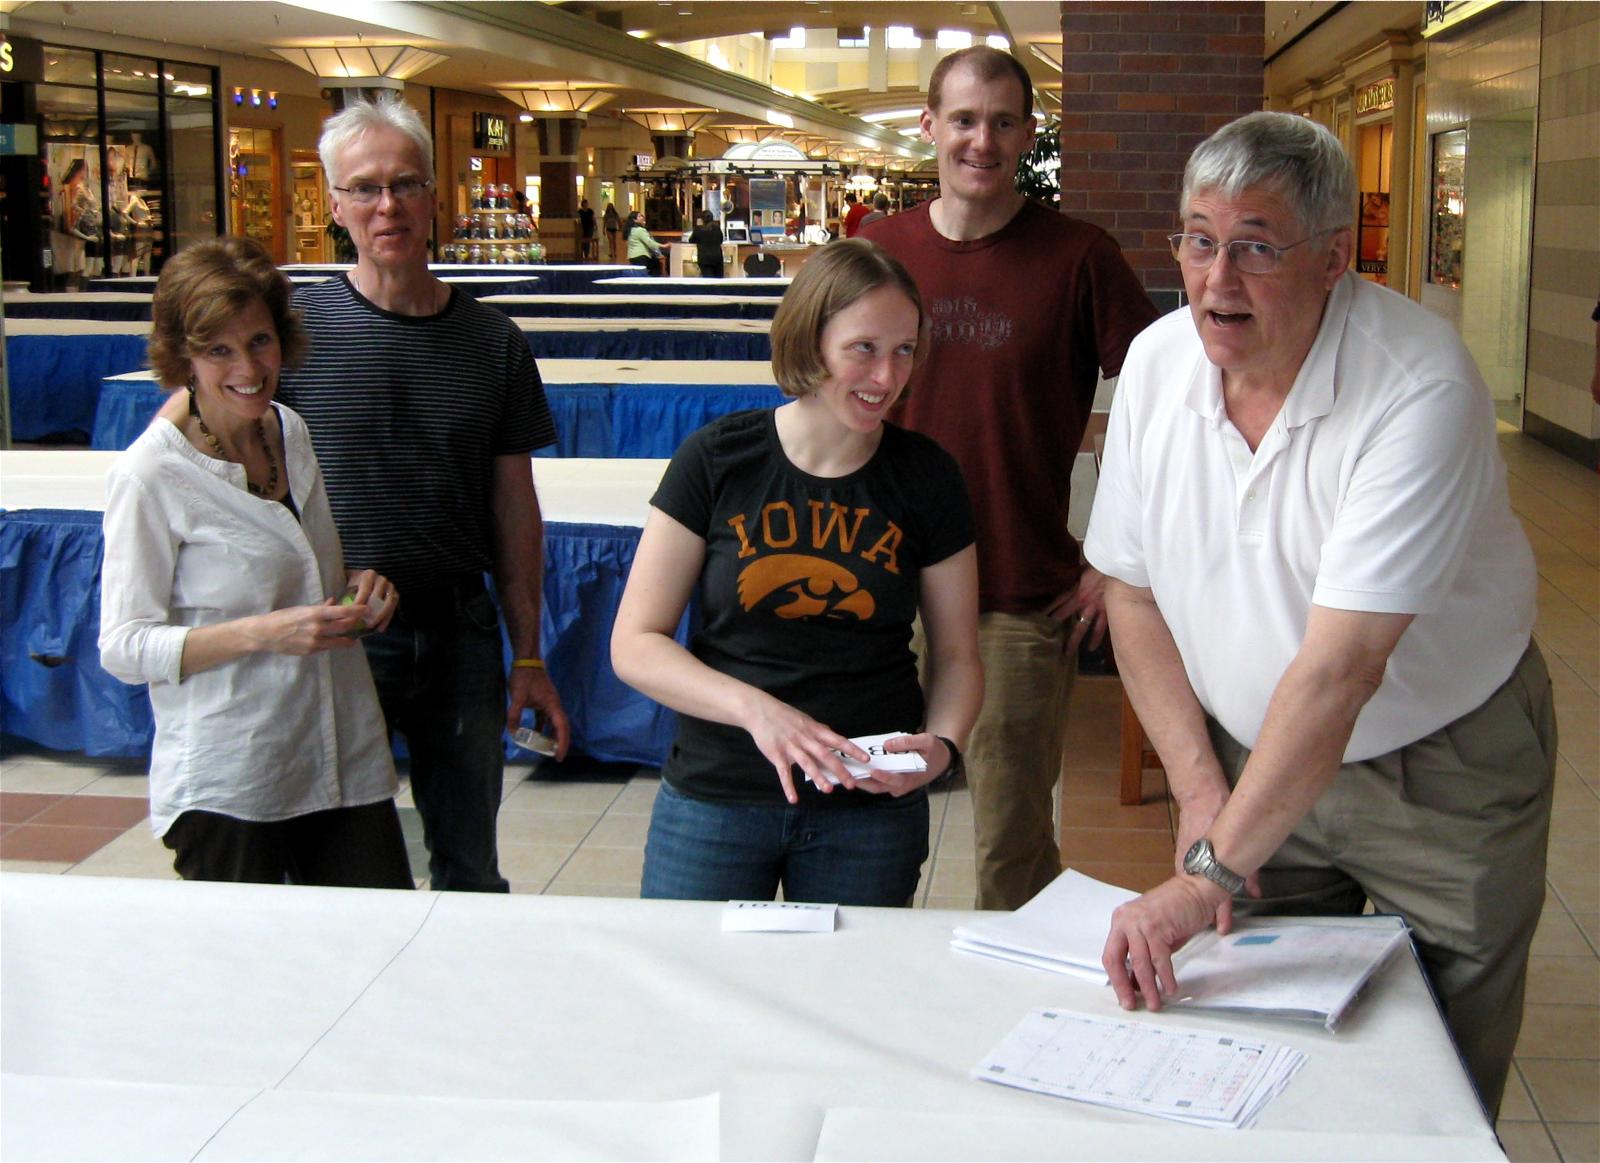
Walker Kelly (right) briefs a crew on how and where to place the exhibit numbers. (L–r) Susan Noreuil, Nick Noreuil, Ashley Noreuil, Jason Sytsma.
The Map
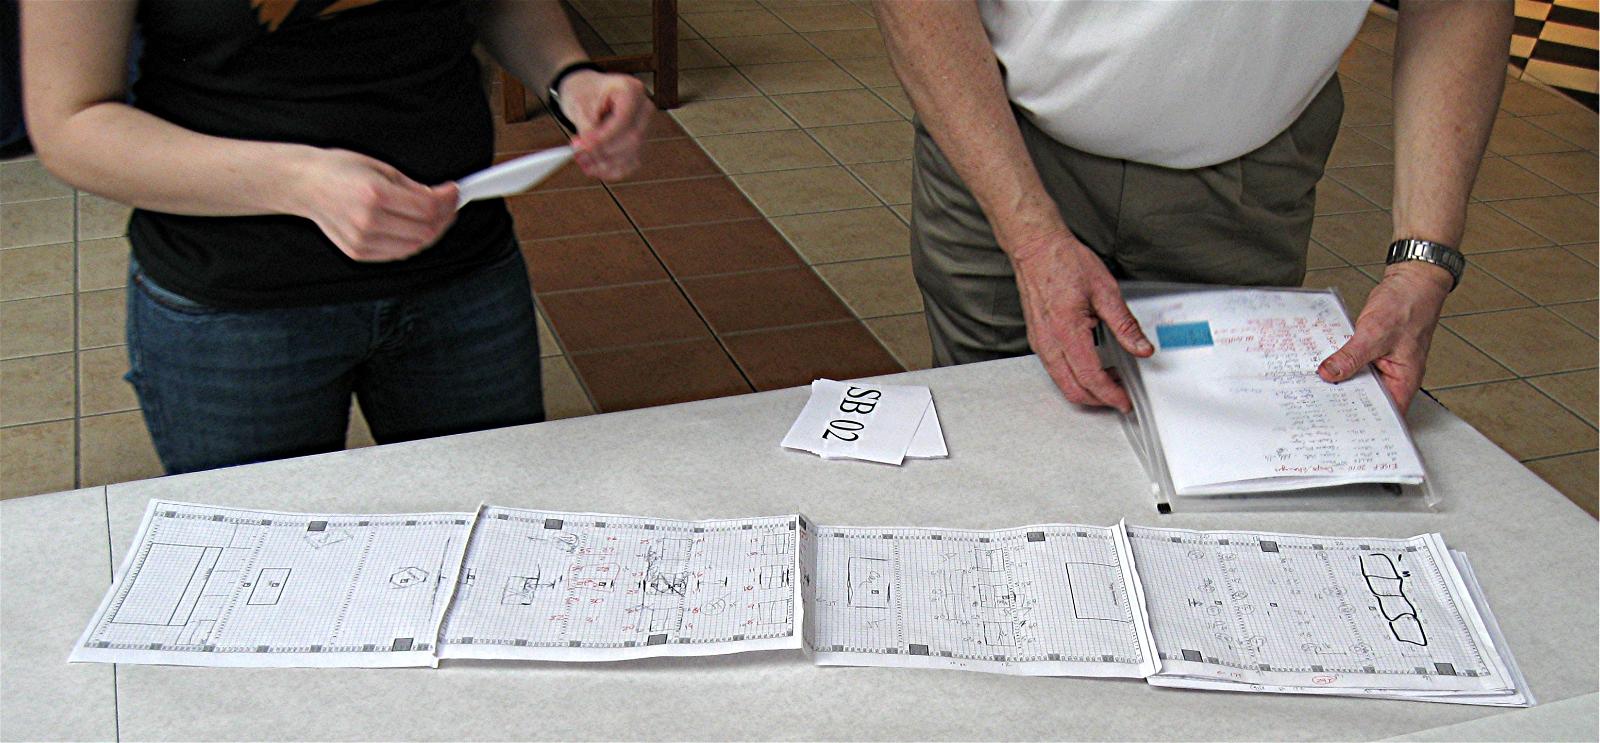
Here we see Walker’s master map of the main axis of Lindale Mall. Each square on the map corresponds to a 12-inch square tile, like the ones behind Ashley and Walker. The map shows floor outlets (some exhibits need electricity), the movable merchant displays, the exhibit tables, and which numbers go on the tables.
Behind the map is an exhibit number; the crew will tape them to the tables to show which exhibit goes where.
All done
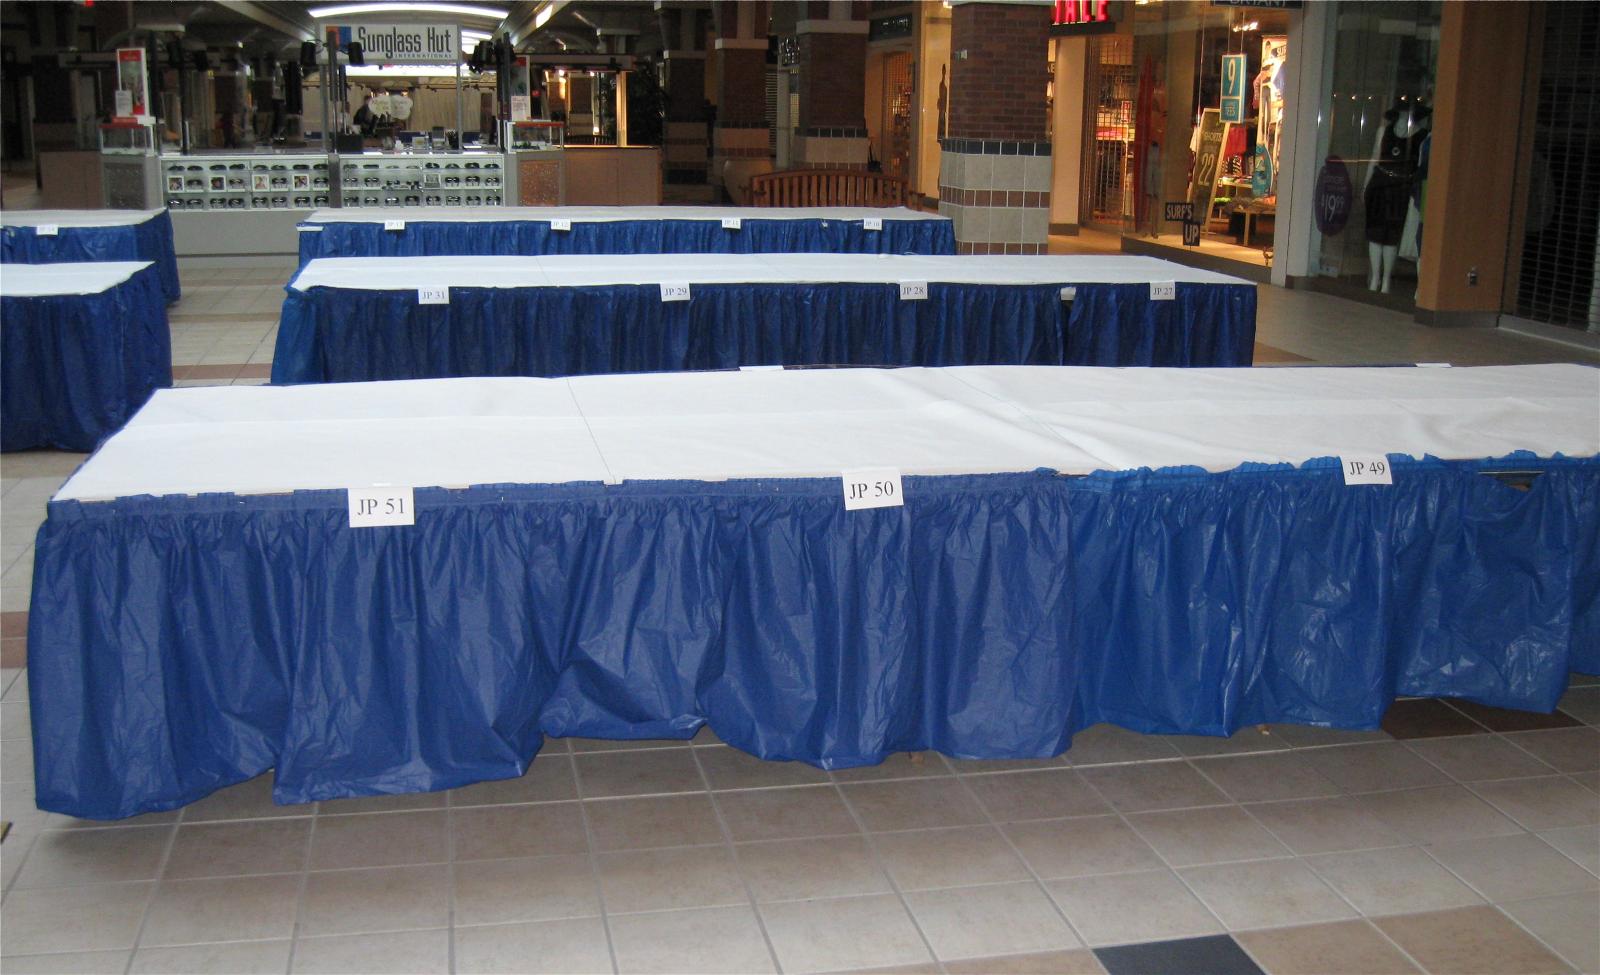
These tables are numbered and ready for Junior Physical exhibits.